Who doesn’t like good sugar cookies?
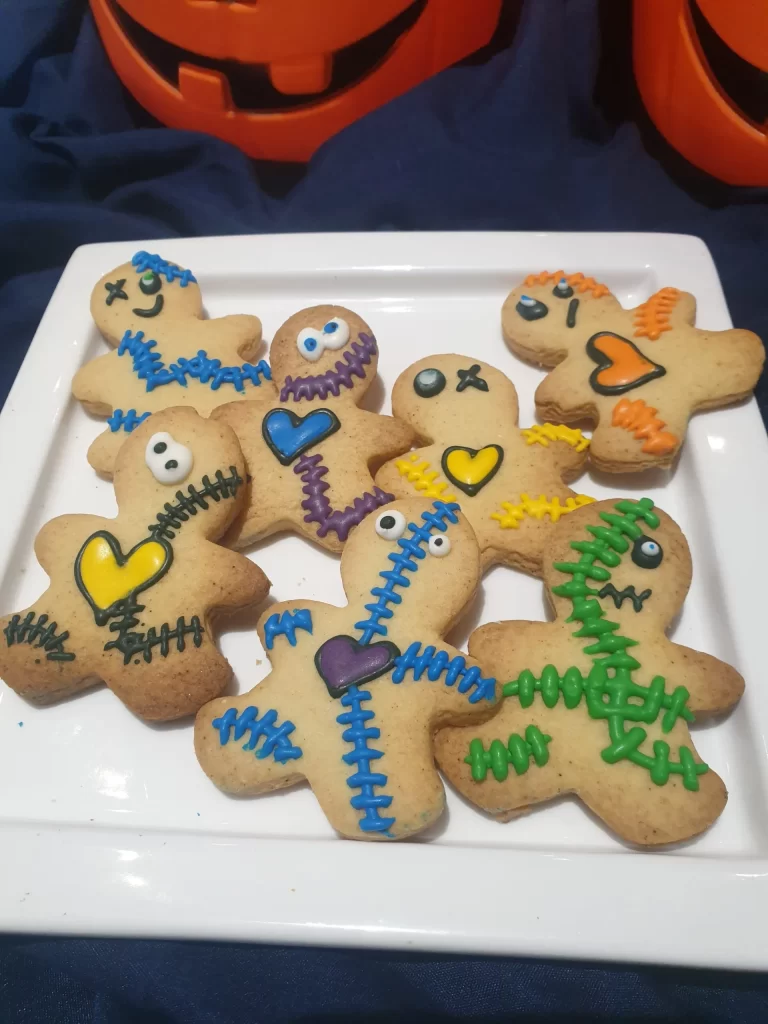
These classic sugar cookies are perfect for any occasion — but this Halloween, they’re guaranteed to steal the show! Soft, buttery, and so easy to make, this recipe is my all-time favorite. The rich butter and vanilla flavor pair beautifully, and the dough works perfectly with any cookie cutter

Secrets for the perfect sugar cookie
Every baker has a few tricks up their sleeve, and these cookies are no exception!
1. Chill before baking:
After rolling and cutting your cookies, place them on a baking tray and chill for 30 minutes. This helps them keep their shape and prevents spreading.
2. Roll right after mixing:
Rolling the dough immediately after mixing makes it soft and easy to handle.
3. Work in small batches:
Divide your dough into two parts before rolling. Smaller pieces are much easier to work with.
4. Use a little flour:
Lightly flour your surface and rolling pin to prevent sticking.
Royal Icing for decorating
Royal icing makes cookies look impressive and professional. The possibilities for decorating are endless! (You can also check out my post : 5 Great icing types to try…. TODAY!!!)
Here’s a handy tip I’ve learned:
Always pipe a border using stiffer royal icing first. This creates a barrier that keeps the icing from running off the cookie. Then, use thinner icing to fill the center.
How to prepare your icing:
- Start with one stiff batch of royal icing.
- Divide it into separate bowls for each color (I usually use 6–8).
- Color each batch, place it in a zip-lock bag, and squeeze out the air.
- Snip a small corner off each bag for piping.
- Use this thicker icing for the borders. Let them set for a few minutes.
- Thin the remaining icing in each bag with a few drops of water (aim for syrup consistency) — this will be your flood icing to fill the cookies.
Royal icing always seems so impressive. The ways you can decorate cookies are endless when using Royal icing. Check out this post giving you some great tips when using royal icing as well a well used and a well trusted recipe. 5 Great icing types to try…. TODAY!!!
How long does royal icing take to set?

Royal icing starts to set in about an hour, but for best results, let it dry 4–6 hours or overnight before stacking or storing.
How do I store royal icing?
Once royal icing is made, cover it with cling wrap. Make sure to press the cling wrap directly on the surface of the icing to stop it from getting hard and drying out. Or spoon directly into a zip-lock back, remove all excess air and seal tight. The icing can last up to a week at room temperature.
Halloween Sugar cookies
about 25 cookies (depending on cutter size)
Ingredients
1 cup butter, room temperature
¾ cup sugar
1 large egg
1 teaspoon Vanilla extract
2 ½ cups cake flour
1 teaspoon baking powder
¼ teaspoon salt
Directions
Preheat oven to 180°C (350°F). Grease baking trays and set aside.
Mix dry ingredients: Sift flour, baking powder, and salt together.
Cream butter and sugar: Beat until light and fluffy. Add the egg and vanilla, and mix well.
Combine: Gradually add the dry ingredients until a soft dough forms.
Roll and cut: Divide the dough into two parts. Roll each to ½ cm (⅛ inch) thickness on a floured surface. Cut into shapes and place on trays about 5 cm (2 inches) apart.
Chill: Refrigerate the cut cookies for 30 minutes.
Bake: Bake 10–15 minutes, or until lightly golden.
Cool: Let cookies cool on the tray for 5 minutes, then transfer to a rack. Make sure they’re completely cool before decorating.
Halloween Sugar cookies Royal icing
Ingredients
2 cups sifted icing sugar
1 egg white, room temperature
1 tsp lemon juice
Directions
- In a clean mixing bowl with a whisk attachment, beat the egg white until foamy (about 2 minutes).
- Gradually add the icing sugar, one spoon at a time, then mix in the lemon juice.
- Beat on high speed until the icing is thick and glossy.
- Divide, color, and use as described above for decorating.
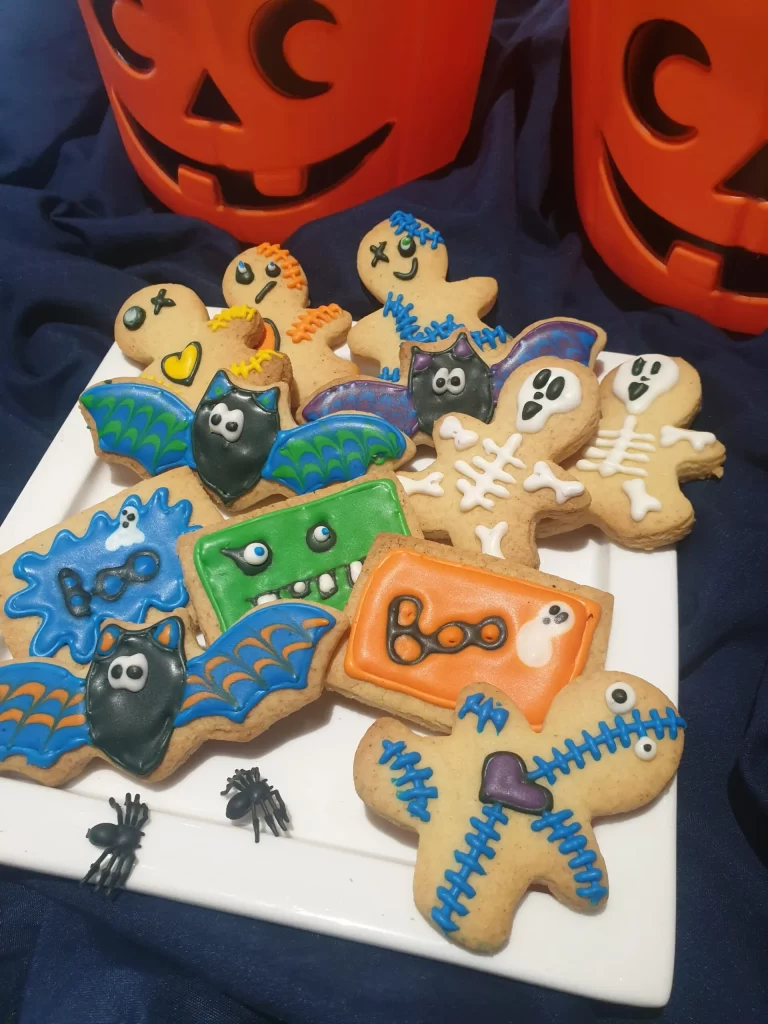
Ready to decorate your sugar cookies
Now comes the fun part — decorating! Get creative with colors, shapes, and spooky designs.
I’d love to hear how your cookies turned out! Share your tips or favorite designs in the comments — I’m always up for new ideas.
Hungry for more?