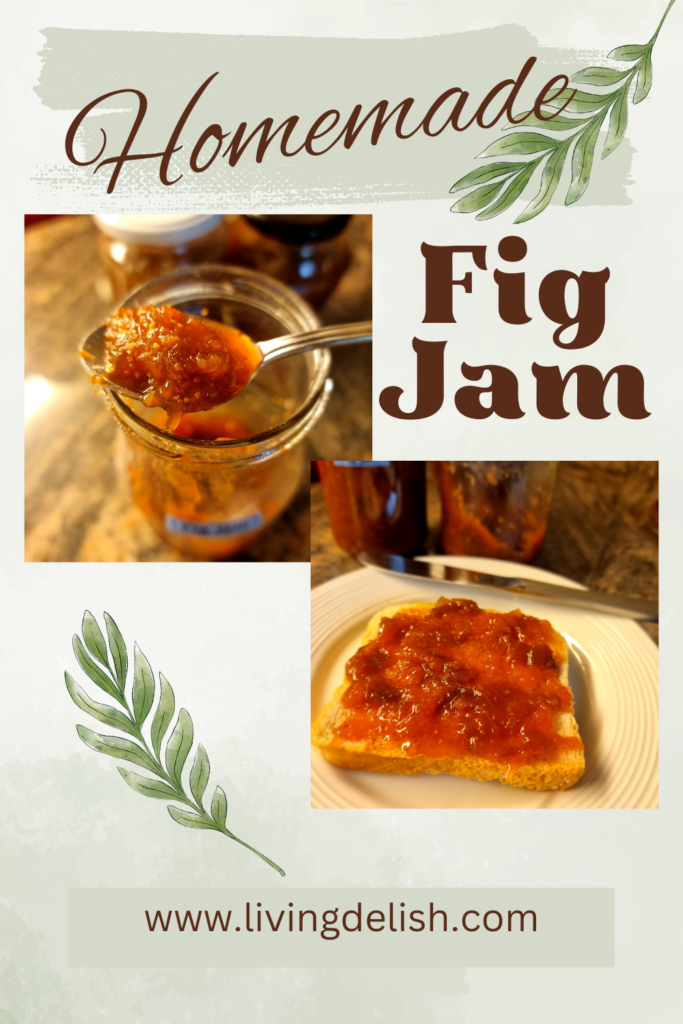
If you’ve ever tasted homemade fig jam, you know it’s a true delight! This easy recipe requires minimal ingredients and is perfect for those who want to preserve the rich, sweet flavor of fresh figs without fussing over complicated techniques. Best of all, there’s no need for pectin—just a splash of freshly squeezed lemon juice to help preserve that deliciousness.
This fig jam is made using a classic 1:1 ratio of sugar to figs, so you can easily adjust it to suit your taste. Whether you prefer it a little sweeter or more tangy, the choice is yours! With just a couple of hours of cooking time, plus an overnight resting period for the jars to seal properly, you’ll have a delightful spread ready to enjoy.
Why You Need to Sterilize Jars
Sterilizing jars is essential for ensuring that your homemade preserves, like fig jam, stay fresh and safe to eat. By eliminating any bacteria, yeasts, or molds that could spoil your jam, you help prolong its shelf life and maintain its delicious flavor.
How to Sterilize Jars
- Wash: Start by washing your jars and lids in hot, soapy water. Rinse thoroughly to remove any soap residue.
- Boil: Next, place the clean jars in a large pot of boiling water. Make sure the water covers the jars completely. Boil for about 10 minutes.
- Cool: Carefully remove the jars using tongs and place them on a clean towel to dry. They should be warm but not dripping wet when you fill them.
That’s it! You can now fill your prepared jars with delicious fig jam. Happy jamming!
Homemade Fig Jam
Ingredients
910g Figs, fresh. Stemmed and cut into 2cm Blocks
375ml Sugar, white granulated
90ml Lemon juice, freshly squeezed
60ml Water
Directions
Place your prepared figs in a large pot. They should be washed, with the stems removed and cut into 2 cm chunks. There’s no need to remove the skin, as it will break down during cooking. Now, sprinkle the sugar over the figs and put the lid back on the pot. Let this mixture sit overnight if possible; otherwise, allow it to rest for no less than 30 minutes. The sugar should dissolve during this time.
The next morning, add the water and heat the pot over medium heat. Stir constantly until the mixture is well blended and no sugar is visible. Next, add the lemon juice and stir to combine. Reduce the heat to low and allow the mixture to slowly boil for about 40 minutes.
To test if the jam is ready, stick a spoon into the mixture and check the back of the spoon. The mixture should be thick enough to coat the back. If it drips off the spoon, it should form a thick drop. If the jam hasn’t reached this consistency yet, allow it to boil slowly for another 20 minutes and check again.
While the jam is cooking, prepare the jars by following the sterilization steps mentioned earlier.
Once the jam is ready, carefully spoon it into the sterilized jars, leaving about 2 cm of space from the top. Wipe the rims clean with paper towels, and then secure the lids.
Extra steps for preserving jam
While the next step is not strictly necessary, I highly recommend taking the extra time for better preservation. Heat a pot of water to boiling point. Carefully lower the sealed jam jars into the boiling water, ensuring they are completely submerged. Allow them to boil for 10 minutes. Afterward, very carefully remove the jars from the pot and place them upside down on a towel. Let them stand overnight.
After they have cooled, check the seals of the jars. The center buttons should all be sunk in. If any buttons remain popped up, place that jar in the fridge and use the unsealed jam first, finishing it within a month.
Properly sealed jars can be kept in a cool, dark place for up to 6 months. Always remember to refrigerate a jar once opened.
Hungry for more?