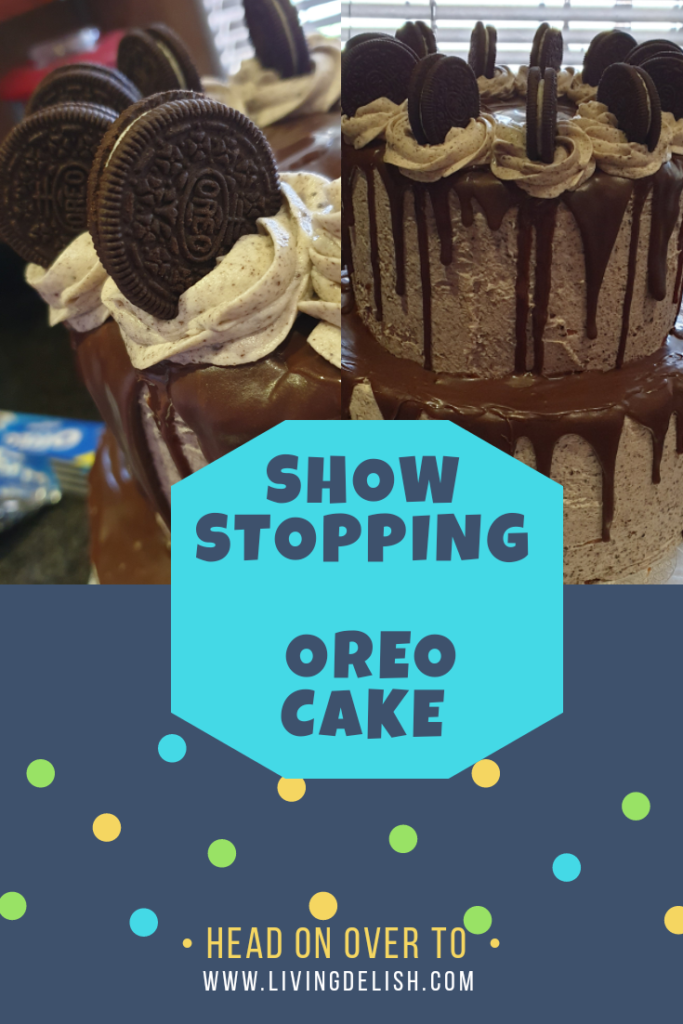
Nothing screams “chocolate lover” quite like a chocolate drip cake. Drip cakes often looks intimidating and difficult to make. But creating the perfect drip cake is actually quite easy.
Here is a few easy to follow steps to create your own master piece.
Steps for creating the perfect drip cake
Step 1
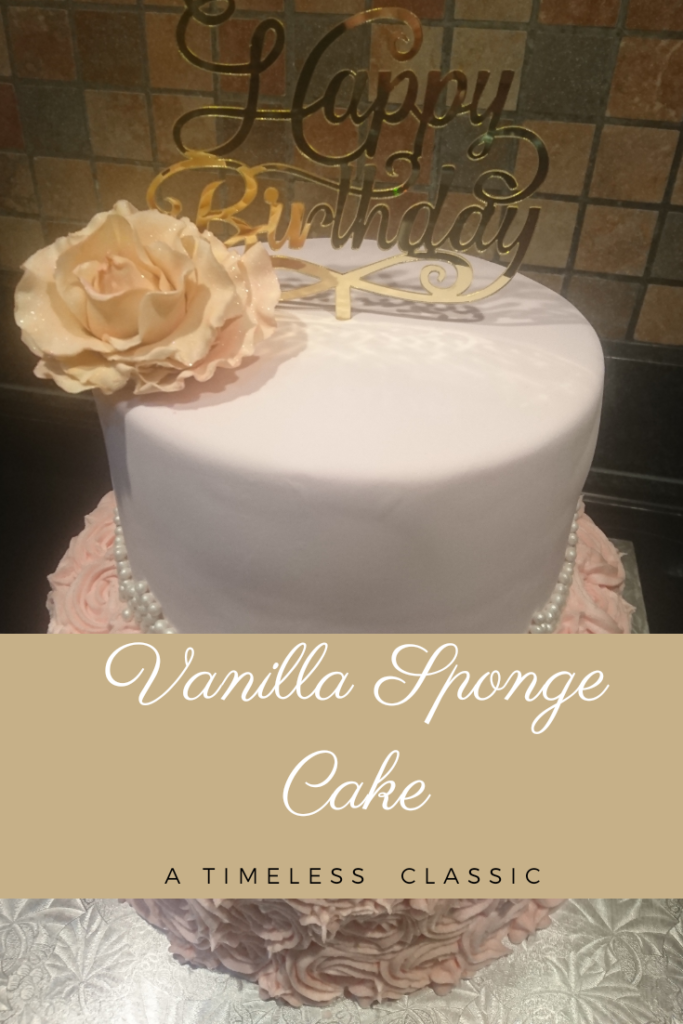
All good cakes starts off with a good quality baked cake. If you are planning to make a single tier cake, you can choose a soft sponge cake which is light and airy. That said, if you want to create a double tier cake, rather opt for a more denser cake. The bottom tier needs to be able to carry the weight of the top tier, without the top cake sinking into the bottom one. Believe me…. This does not look to great. 😂
Try this vanilla cake recipe, I have only ever had success with this recipe not to mention, it tastes great! Vanilla Sponge cake This cake sponge is soft, yet sturdy enough to create tiers. Another great recipe to try is this chocolate cake recipe, The best chocolate cake EVER!! This is our family recipe, so it’s tried and tested a thousand times over! 😉
Step 2
After baking and allowing your cake to cool, the real fun starts… Icing!! Yummy!
The real success to any icing is the quality of ingredients that you use in making the icing. Using real butter will give you a creamy and rich texture. Other products like margarine can also be used with great success. Just remember that margarine is made from oil, water, salt and a few additional ingredients like emulsifiers. It is often flavored to taste like butter, but it is not the real deal.
Check out these posts for great icing recipes and to learn a little more about each icing.
5 Great icing types to try…. TODAY!!!
Coat the cake with an even layer of buttercream icing. Try to smooth out the icing as smooth as possible. Once done wipe the cake board clean with a clean and slightly wet cloth.
Now place the cake in the fridge. Allow the cake to cool for a good 2 hours. The cooler the cake the easier it would be to add the drip to the sides of the cake. A cold cake will allow the drips to run down the cake, but will set fairly quickly against the cold cake. This will help to create different lengths of drips on the cake.
Step 3
Now to make the ganache. I use this simple recipe. 5 Great icing types to try…. TODAY!!!
A little tip… Like the butter, use a good quality chocolate. This is after all what makes the drip tastes so good. This rich chocolate icing is made from white or dark chocolate and cream. It has a smooth, rich ultra chocolaty texture. Remember as your ganache cools it will become thicker and more solid, yet soft enough to be able to cut thru.
Allow the ganache to cool to room temperature before you use it. This will allow the ganache to thicken up a little. Otherwise your drips will not create drips but rather just run down the cake.
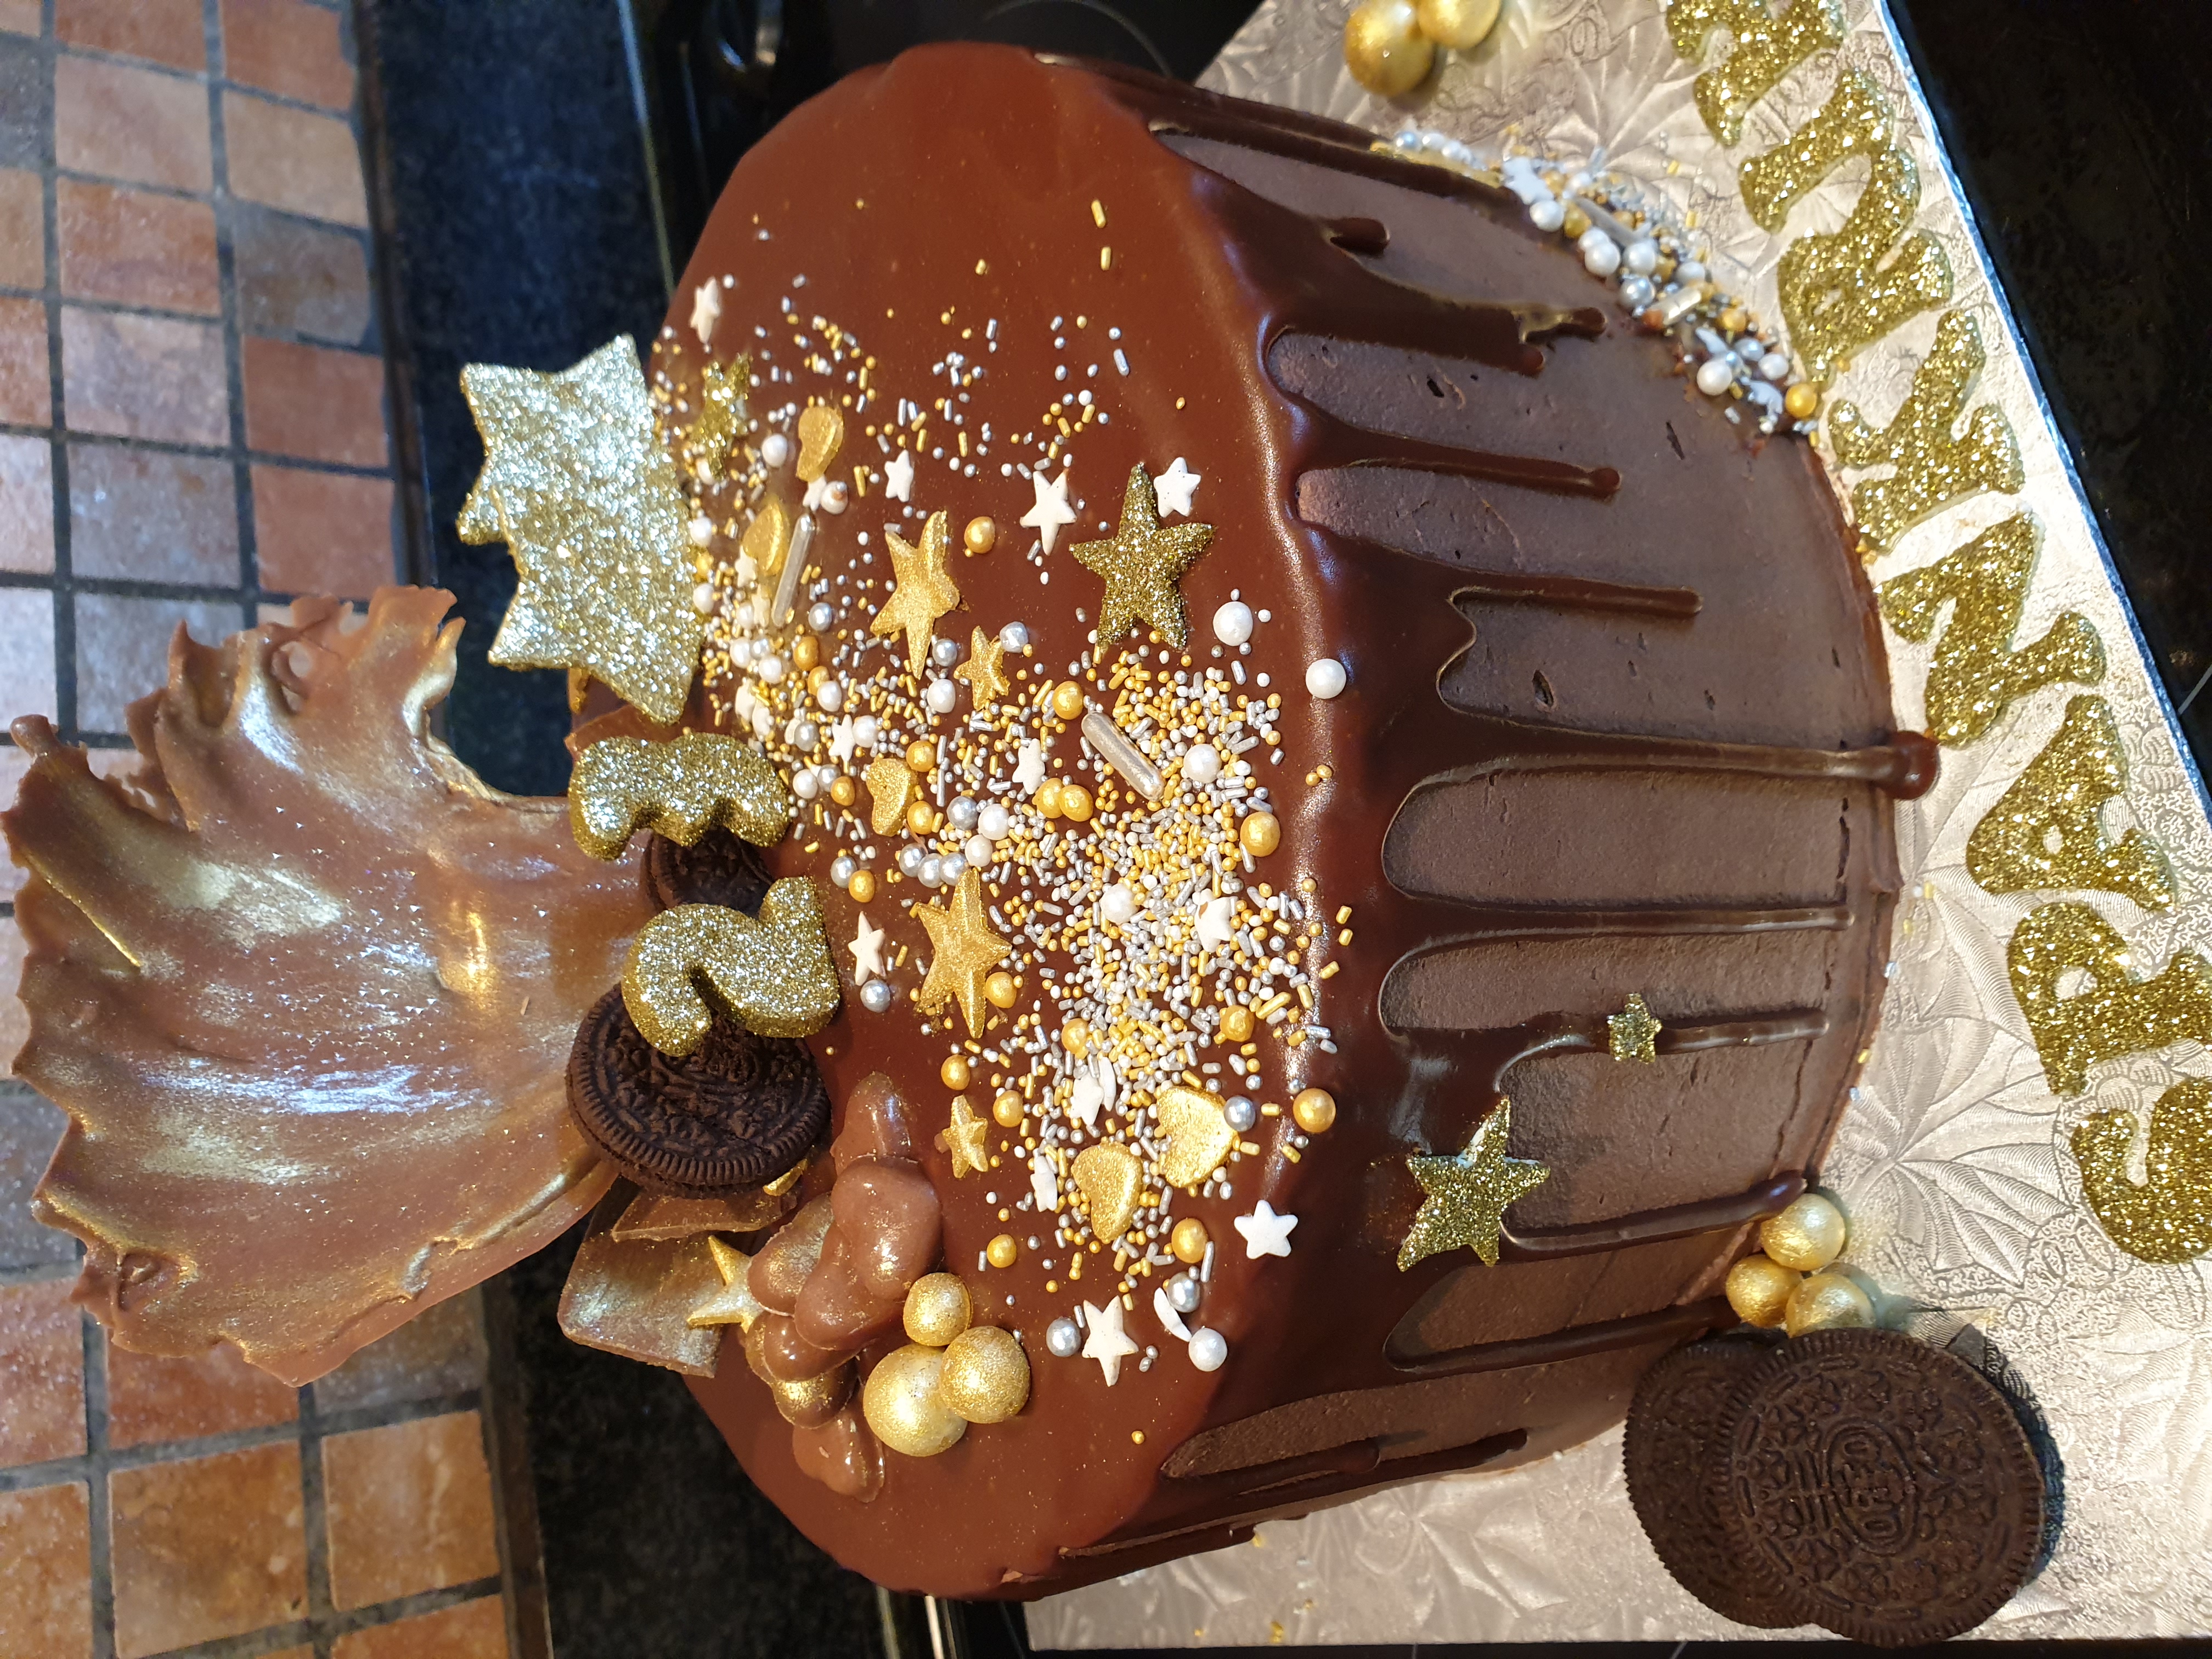
I use a desert spoon, and carefully drip the ganache little by little around the edge of the cake. If your cake is cool enough the chocolate will run only a little down the side of the cake and then set. Once the edges are done, spoon some ganache on top of the cake in the center. Again, slowly add this, use the back of a spoon to spread out the ganache. Be careful not to add to much at a time otherwise you risk that the ganache will run over the edge and spoil the drips that you have created.
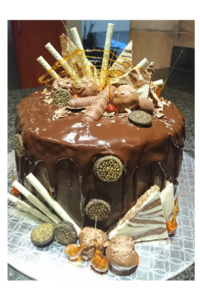
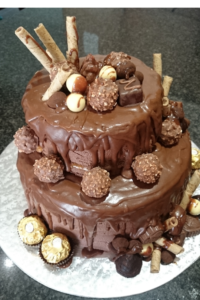
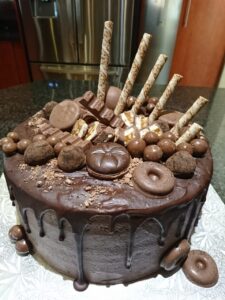
Step 4
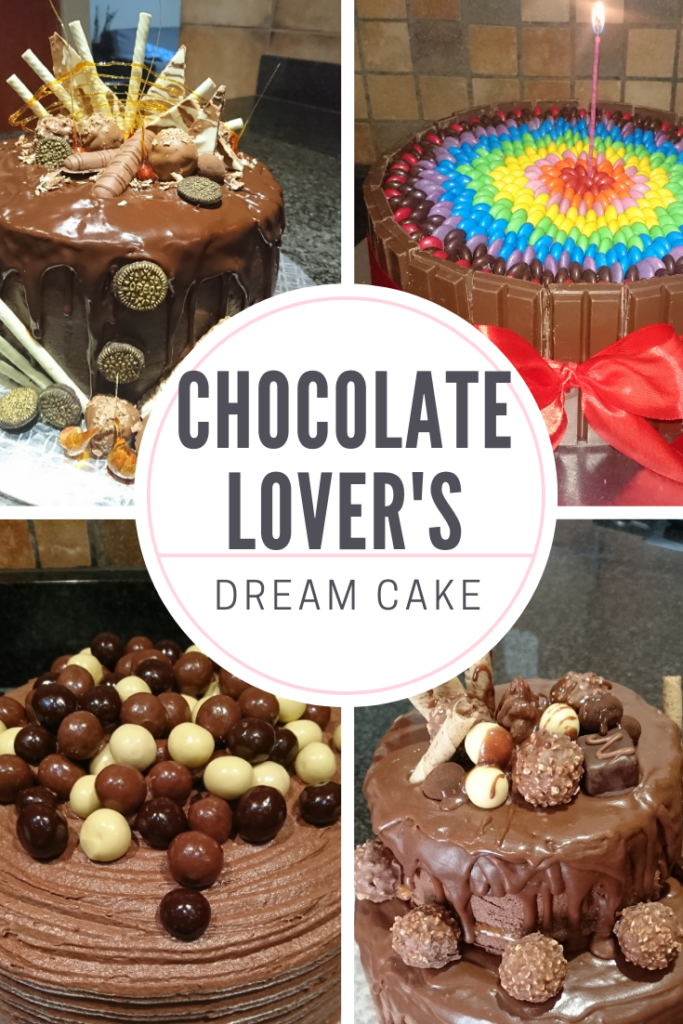
Decorate!! this is the best past, well it is for me.
Using all sorts of chocolates, biscuits or simple just leave the cake as is. Any which way it will look amazing!
Hungry for more?